Modules - Events - Presentation & Setup
The Events module is designed to help you manage your events from start to finish. It serves three main purposes:
- List and display events in a single tab, in chronological order
- Manage registrations and share key event information with users
- Control access and check-in for registered attendees
👉 Before creating events, make sure the Events module is added to your app. If needed, refer to the App Configuration - Modules tutorial.
📅 EVENTS TAB
Add Events Manually
- Click on the Add button
- Select Add manually
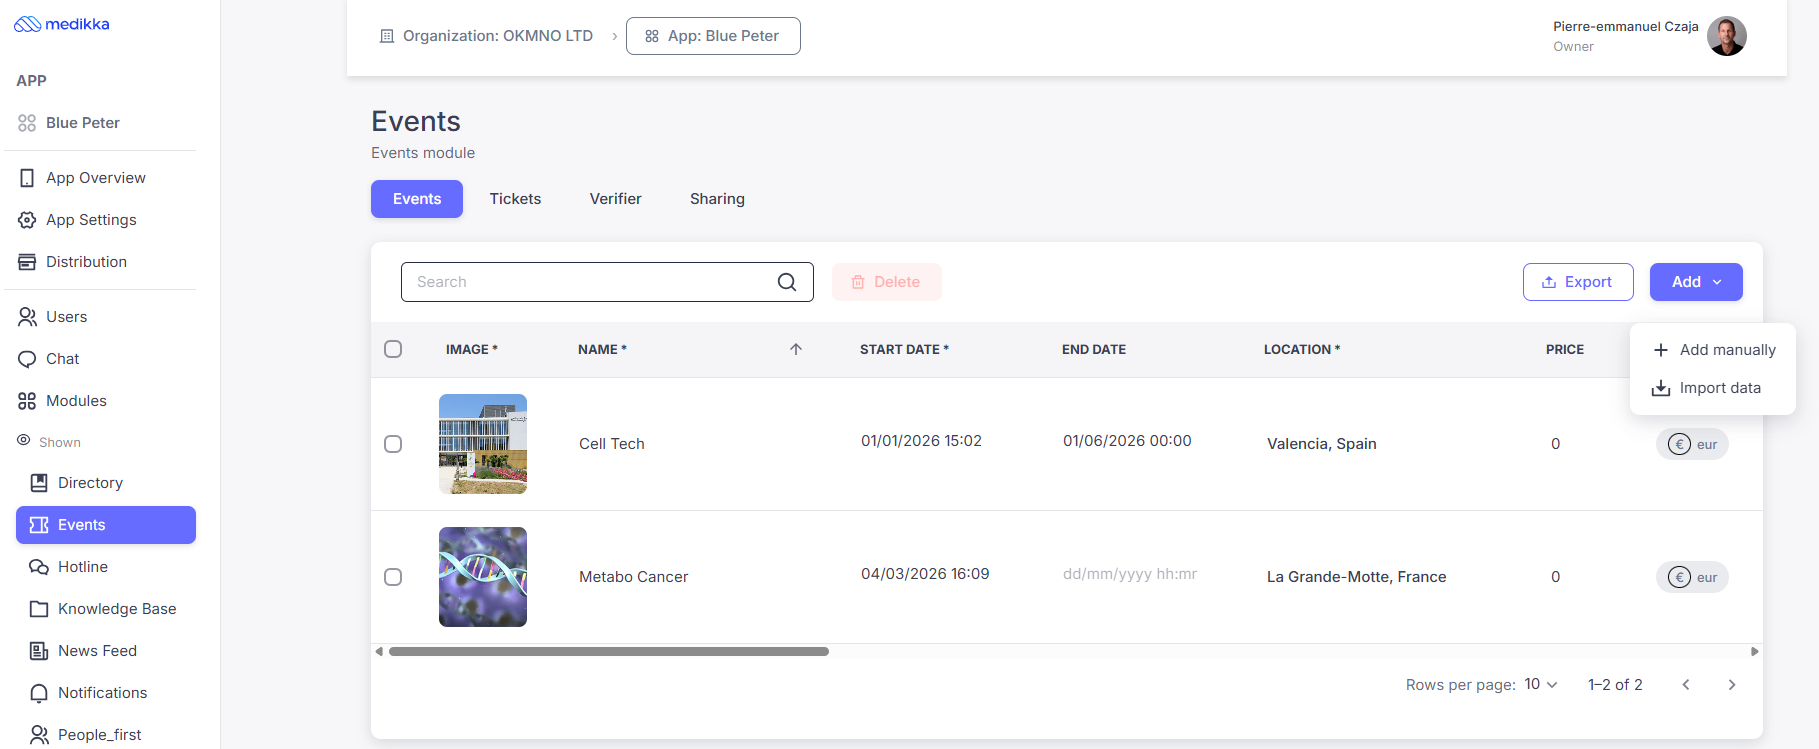
- Fill in the required information (mandatory fields are marked with *)
- Image* Upload the event image (recommended size: 350 × 170 px)
- Name* Name of the event
- Start Date* Select the start date from the calendar
- End Date Select the end date (optional)
- Location Add the event location. A pop-up allows you to select it via Google Maps
- Price Set the ticket price (enter 0 for free events)
- Currency* Choose the currency (GBP, USD, EUR, JPY)
- Price Text Optional display text (e.g. “From €45”)
- Tickets Total number of available tickets (use 999999 for unlimited)
- Max. Tickets Maximum number of tickets per user
- Show Sold Choose whether to display the number of tickets sold
- Registration Opening* Date and time when registration opens
- Registration Closing* Date and time when registration closes
- Cancellation Set cancellation deadline or choose Anytime / Never
- About Detailed event description (Markdown supported: headings, bold, links, etc.)
- Registration Text Custom message for the registration section
- RegistrationChoose registration method:
- In-app (required for payments)
- External URL (Google Forms, Eventbrite, HelloAsso, etc.)
- Form URL Add your external registration link (leave empty for in-app registration)
- Check-out Text Message shown after in-app registration (optional)
- Private Events are private by default. Disable this to make the event visible
- ID Internal event ID (recommended to keep unchanged)
⚠️ Important: Don’t forget to deactivate the “Private” option to make your event visible.
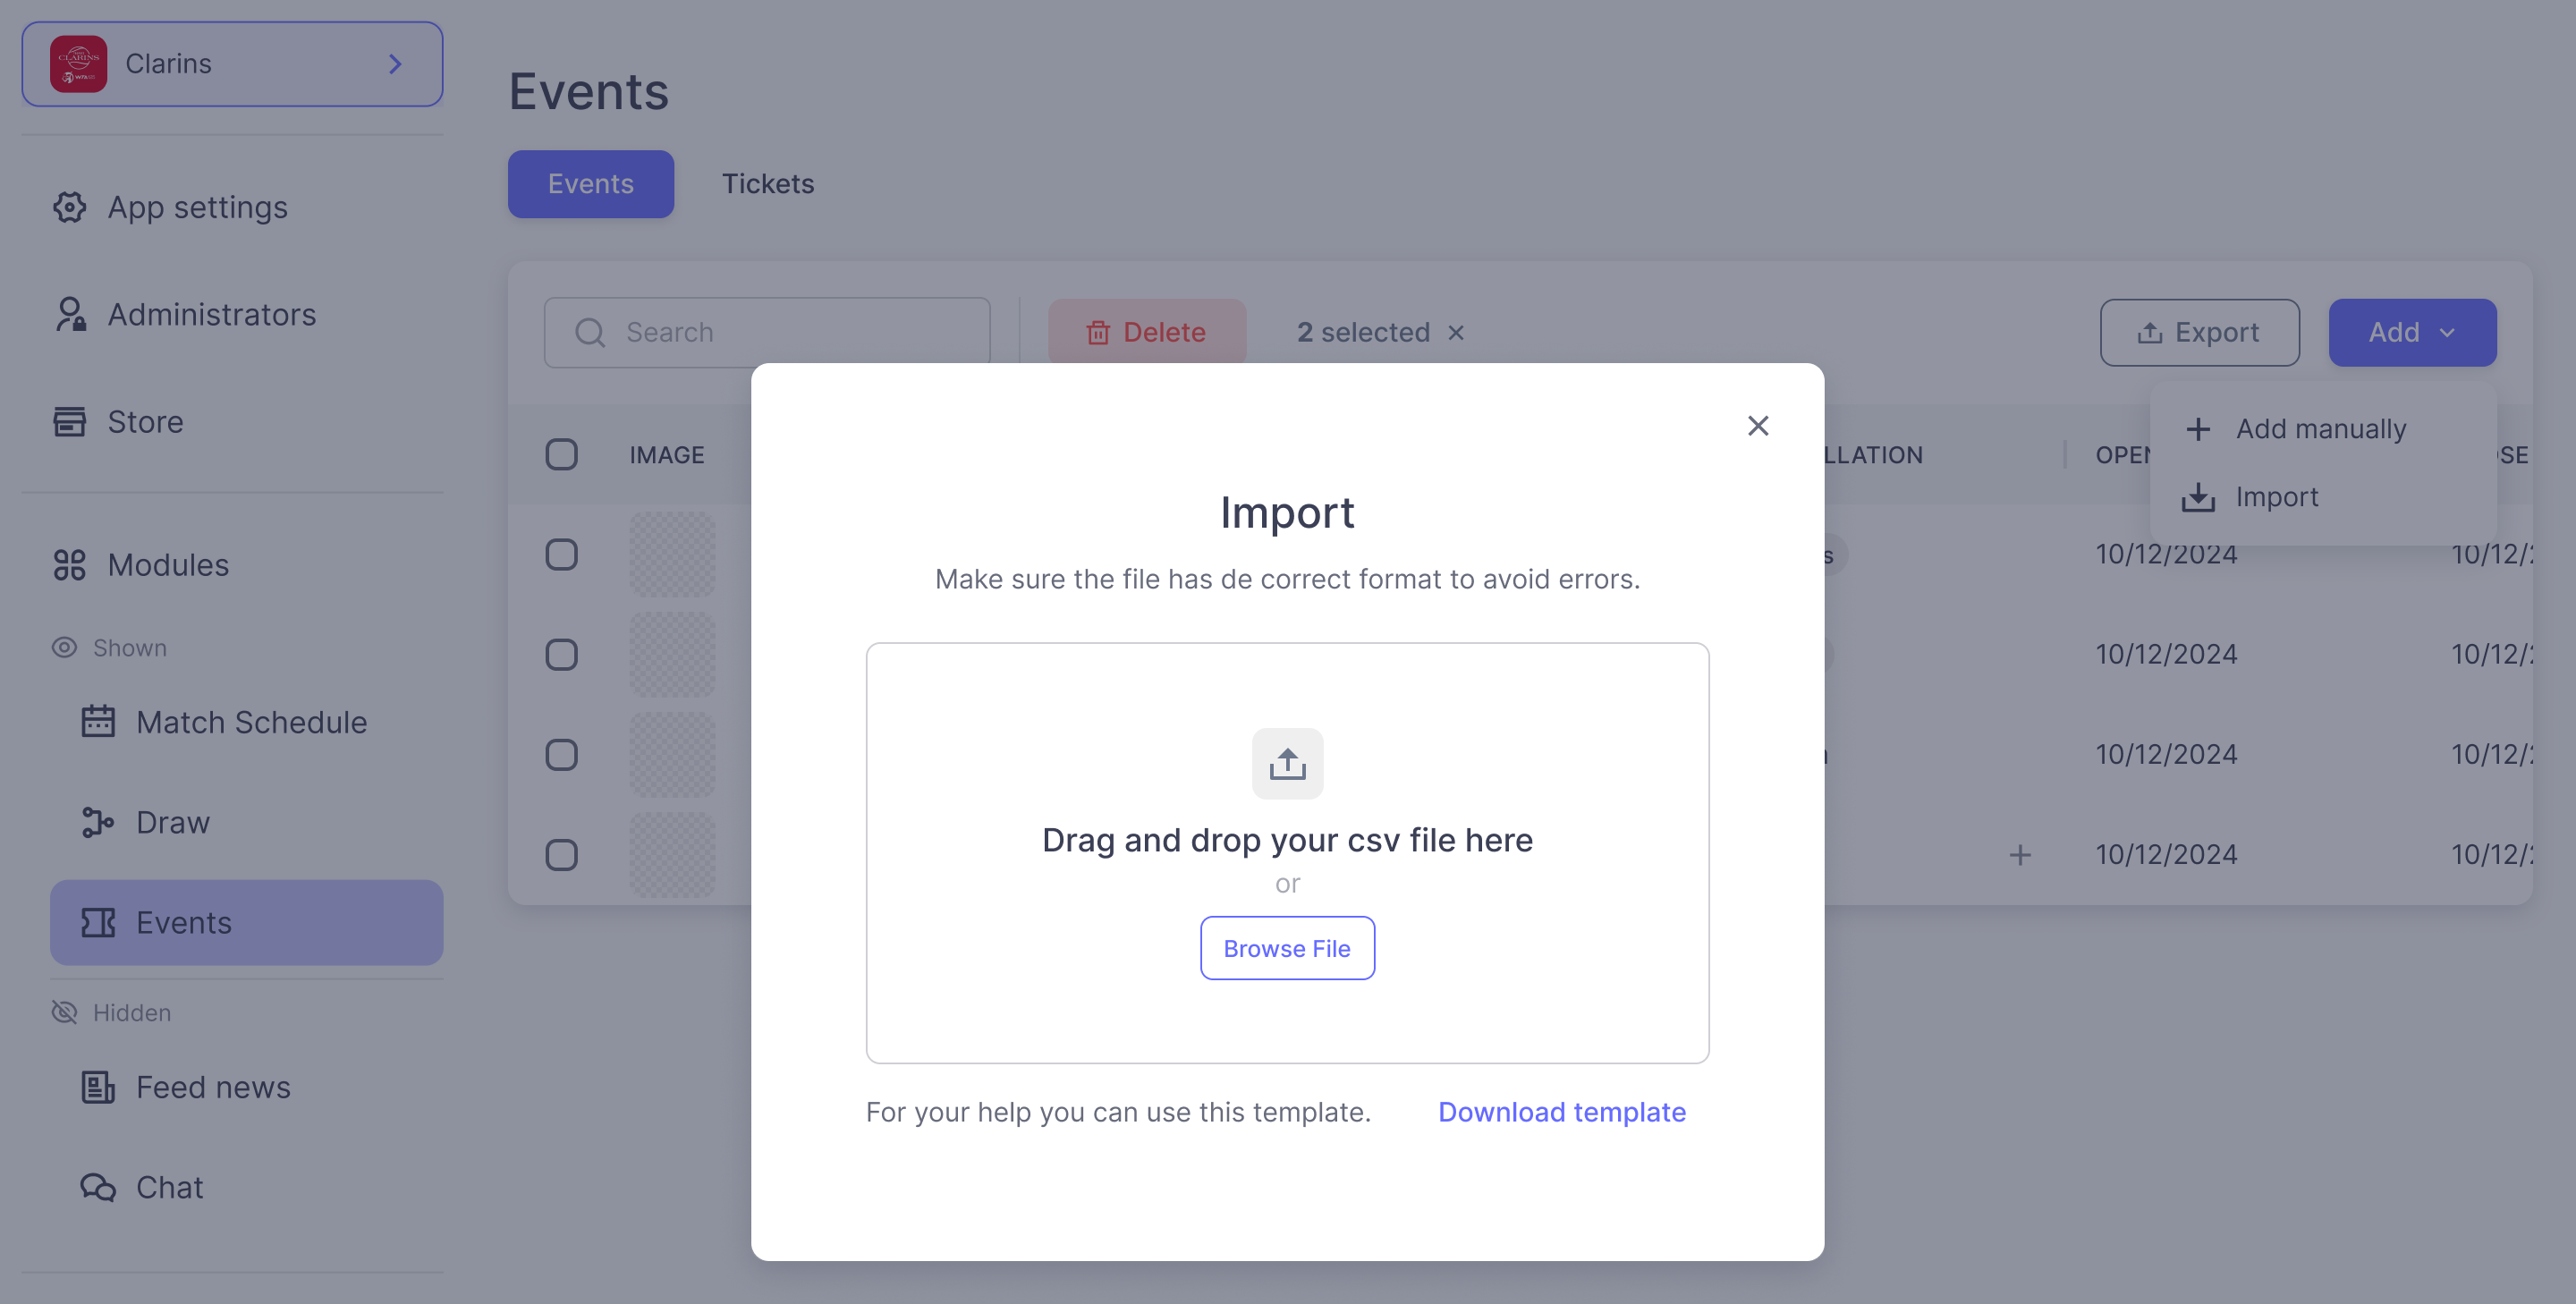
Import Events (csv)
- Go to Events (left-hand menu)
- Click Add → Import
-
Upload your CSV file containing all the data you want to import if you have already prepared it.
Alternatively, click Download template, fill in the required information in the corresponding columns, and save the file in UTF-8 format before importing.
👉 Refer to the “Add manually” section for field descriptions
⚠️ Event images cannot be imported via CSV — they must be added manually after import
💡 Tip: Importing allows you to customize location names beyond Google Maps defaults
🎟️ TICKETS TAB
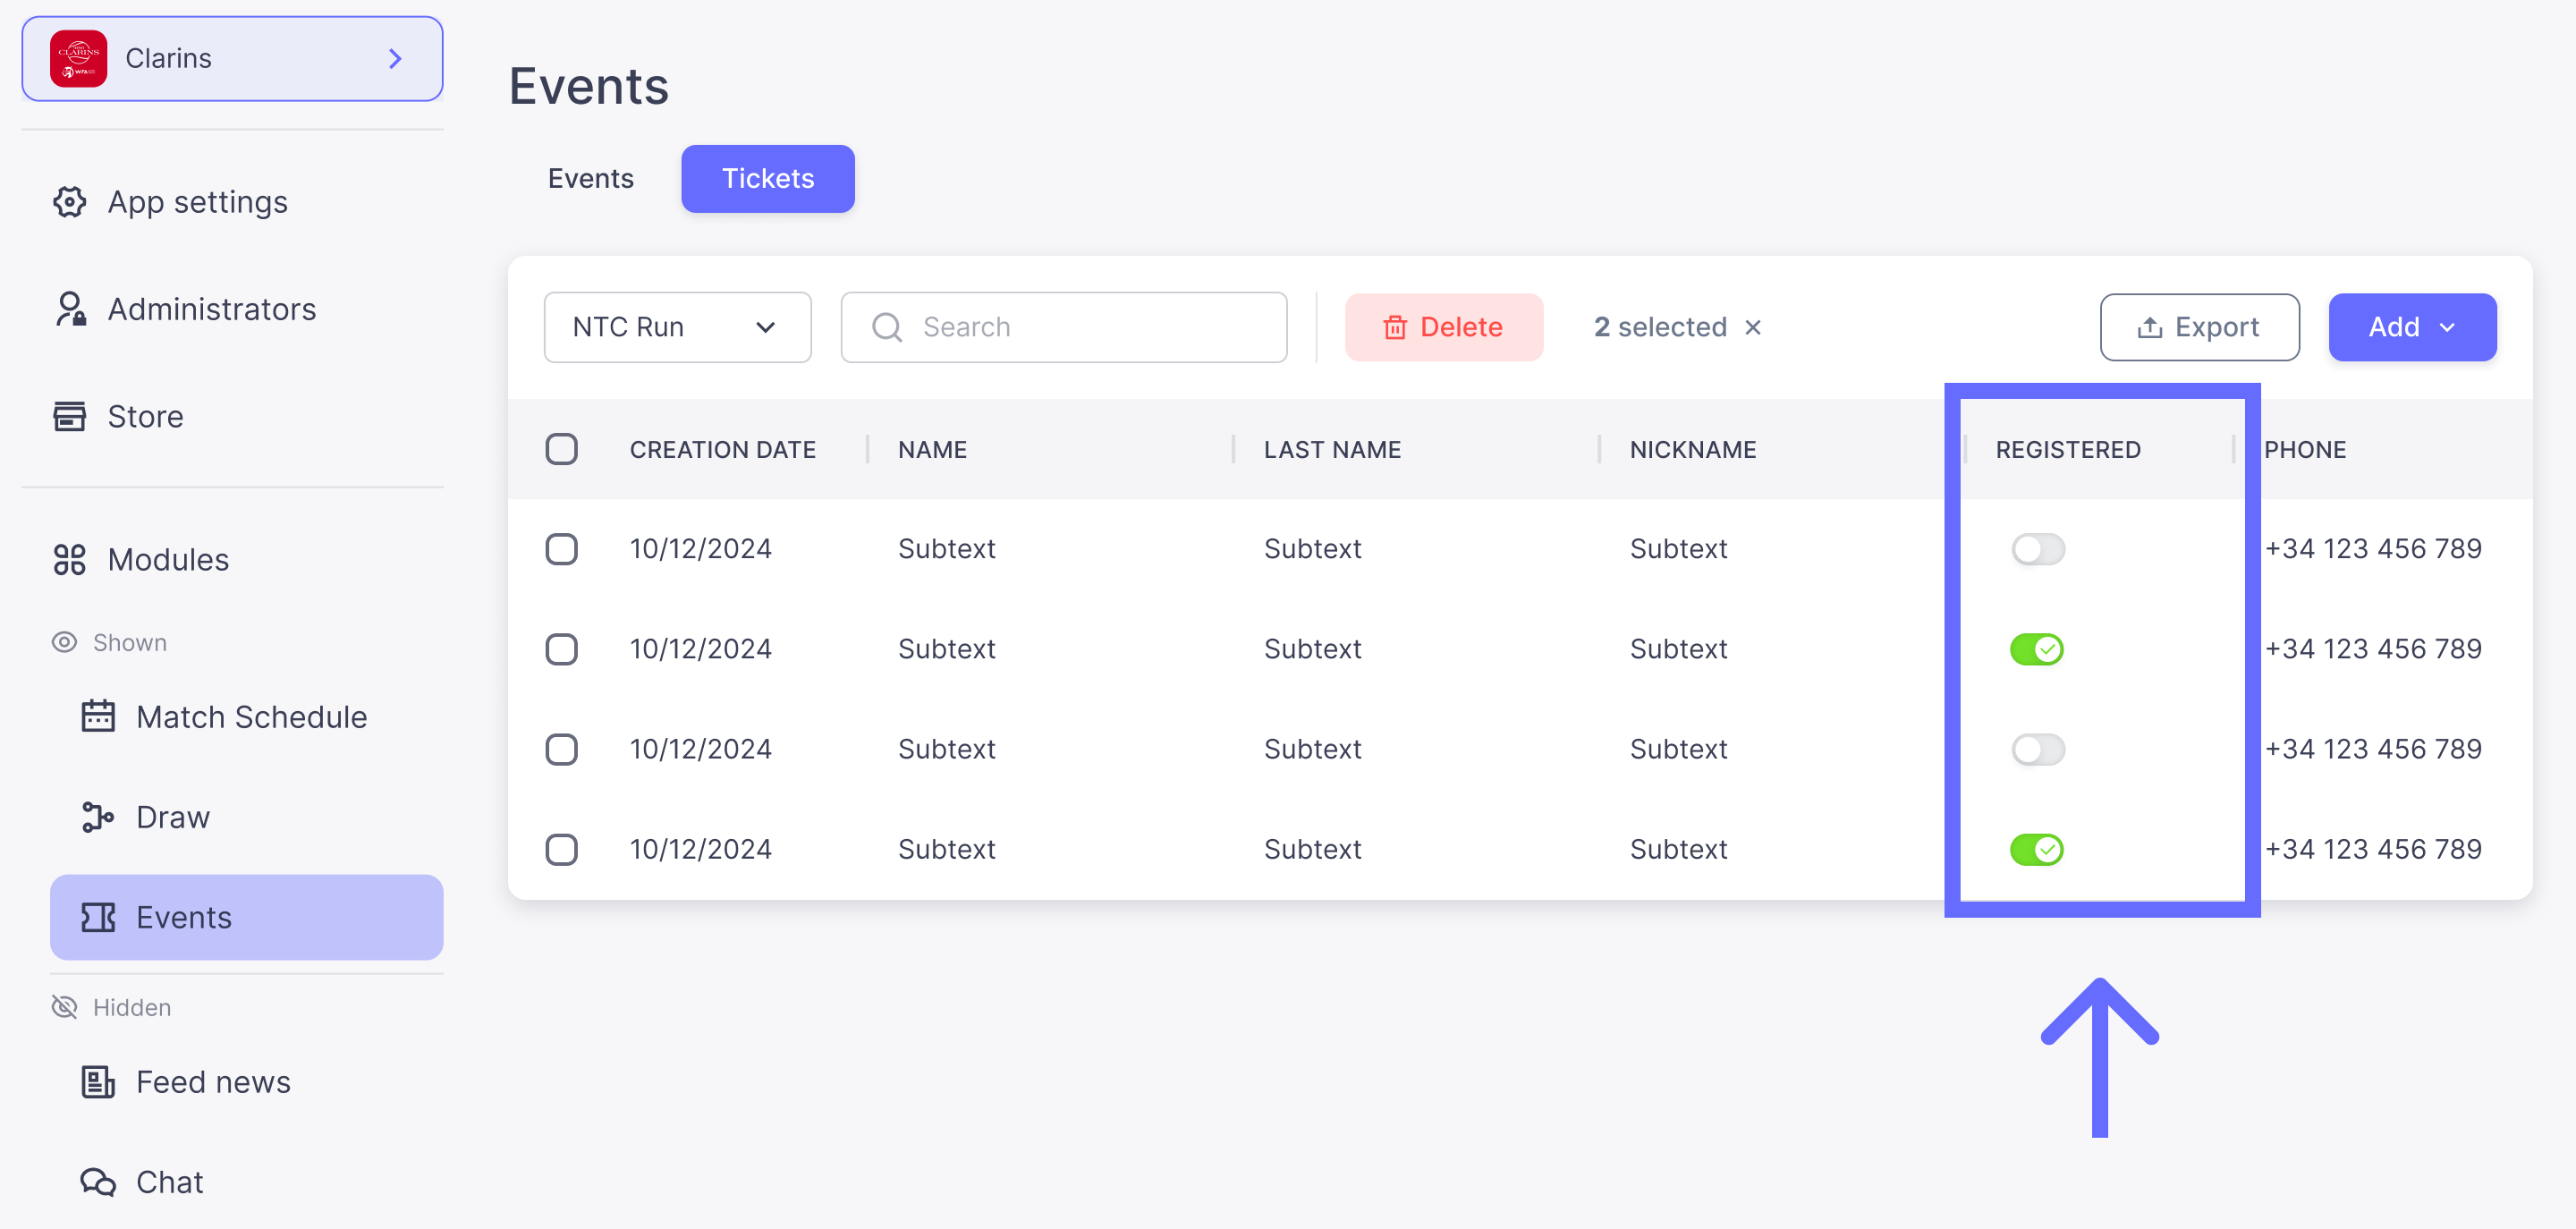
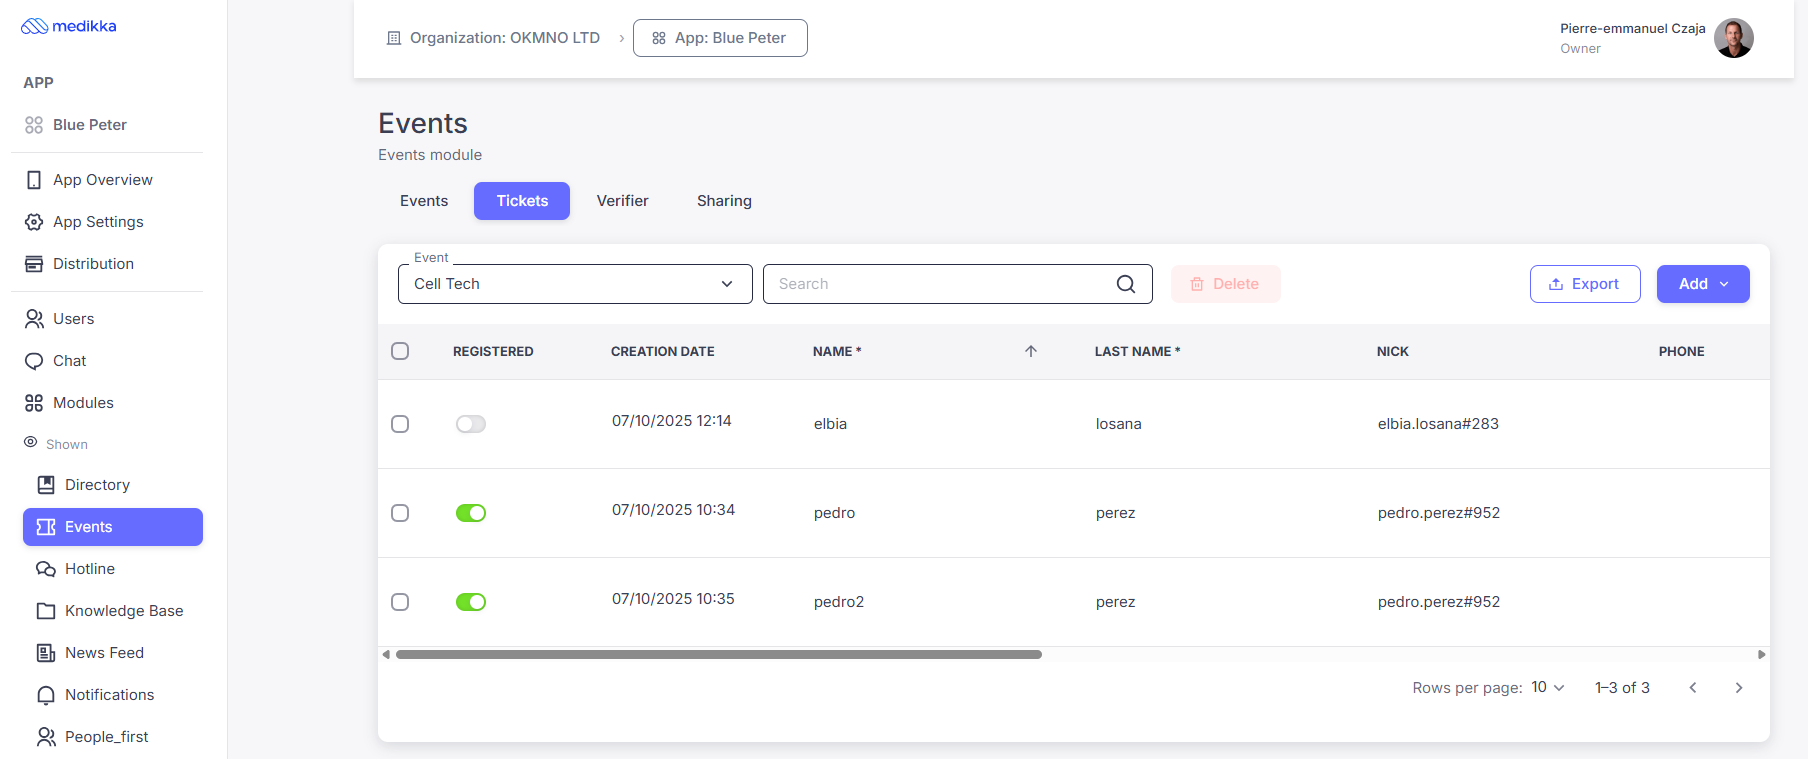
View Registered Attendees
(For in-app registrations only)
- Open the Tickets tab
- Select your event
- View the list of registered users. The “Registered” column indicates attendees who have already checked in
👉 This information is also accessible via the app for Admins and Verifiers. Click HERE to see how to assign Verifyer's rights.
Import Tickets (External Registrations)
If you are using external tools (Google Forms, etc.):
- Go to the Tickets tab
- Select your event
- Click Add → Import
-
Upload your CSV file containing all the data you want to import if you have already prepared it.
Alternatively, click Download template, fill in the required information in the corresponding columns, and save the file in UTF-8 format before importing.
✅ VERIFIER TAB
Verifier Role
The Verifier role allows selected users to manage event check-in without giving full admin access. Verifiers can:
- Access attendee lists from the app
- Check in participants
- Scan QR codes for fast entry
Notes:
- Admins automatically have verifier rights
- Verifiers can only access these features via the app (not the web back office)
- Check the specific tutorial to see how the access control works
Assign Verifier Rights
If you need to control access to an event, you can grant selected members of your organization permission to verify attendees at the entrance—without giving them full admin rights.
The Events module includes a dedicated Verifier role for this purpose:
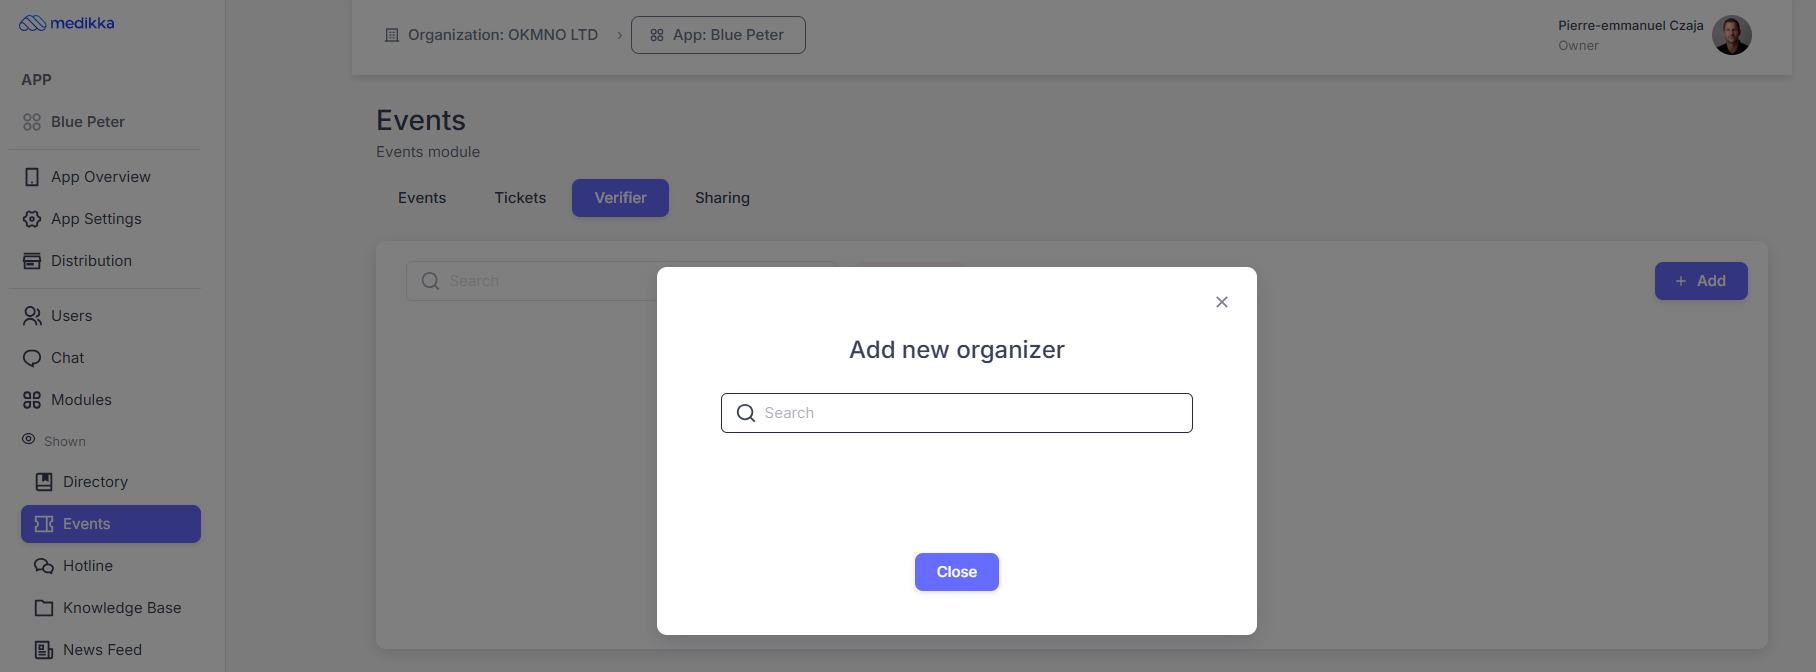
- Open the Verifier tab
- Click Add
- Enter the user’s name or Medikka ID
🔗 SHARING TAB
Sharing allows you to promote your event easily. You can generate:
- A direct link
- A QR code
These links open the app directly on the Events module.
How to share:
- Go to the Sharing tab
- Click Share your module
- Copy the link or download the QR code

💡 Final Tip
For the best experience:
- Use in-app registration + payments
- Assign verifiers for smooth on-site check-in
- Combine with Notifications to maximize attendance